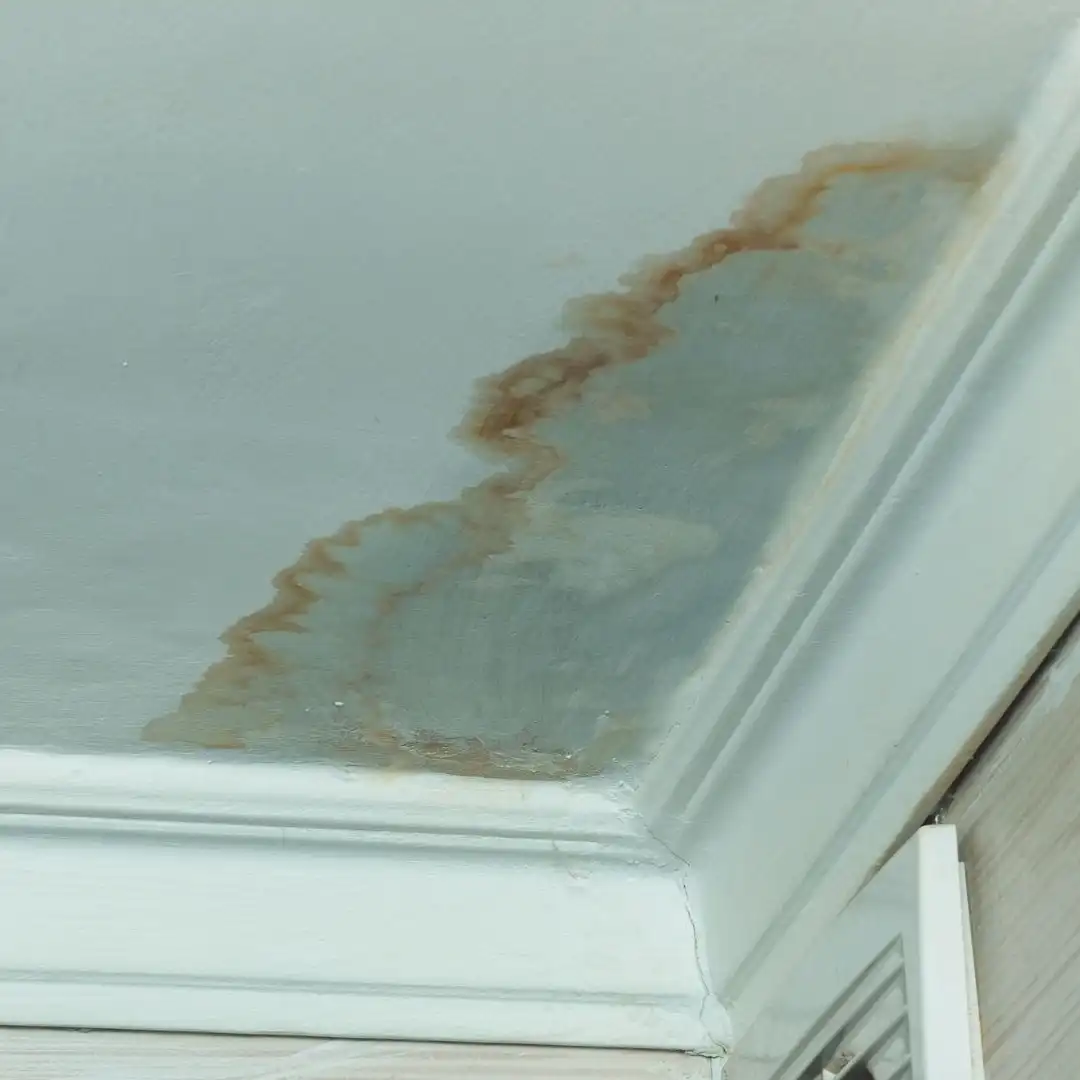
Step 1: Emergency Dispatch and Site Arrival
- Call intake collects address, leak duration, visible damage, and roof type.
- Crew dispatched, arriving in most cases within 2 hours.
- Lead technician parks within 50 feet of access point and stages equipment.
- Exterior walk performed to identify roof slope, flashing, and visible failure points.
- Power shut off to attic circuits if standing water is suspected near junction boxes.
- Ladder staged on level ground, tied off at gutter line if pitch exceeds 6:12.
- Initial homeowner interview documents storm date, prior repairs, and any insurance claim numbers already opened.
Step 2: Initial Moisture Mapping
- Thermal imaging camera (FLIR E6 or equivalent) scans ceilings below the suspected leak.
- Pinless moisture meter takes baseline readings on unaffected drywall: target 0.4 to 0.8 percent WME.
- Affected ceiling readings logged. Anything above 1.0 percent WME is flagged.
- Attic accessed through pull-down stair or hatch. Crew wears N95, eye protection, and Tyvek.
- Pin-type meter probes rafters, sheathing, and joists at 4-foot intervals. Wood above 16 percent moisture content requires drying.
- Ambient temperature and relative humidity logged at three points: exterior, attic, and conditioned space below.
- Sketch of attic footprint produced with grid overlay, each grid cell marked with peak reading.
You receive a printed or digital moisture map with each reading marked. We use the same documentation insurers expect in East Harbour, and the process mirrors what you would see in our hidden water damage detection guide.
Step 9: Drying Verification and Documentation
- Sheathing and rafters must return to within 2 percentage points of dry baseline.
- Insulation cavities (where reinsulated) verified with pin probe before closeout.
- Daily drying logs delivered to you and your insurer.
- Final clearance reading photographed with meter display visible.
- Third-party hygienist clearance arranged on request for losses exceeding 100 square feet of microbial impact.
Step 7: Controlled Drying Setup
- Calculate dehumidifier capacity: cubic footage divided by 350 for Class 4 conditions equals required AHAM pints per day.
- Place LGR (low grain refrigerant) dehumidifier rated for attic ambient (typically 90 to 115 degrees F summer).
- Position air movers at 10 to 16 foot intervals, angled at 15 to 45 degrees against wet surfaces.
- Target equilibrium: 30 to 50 percent relative humidity, GPP (grains per pound) below 50.
- Monitor at 24 hour intervals with hygrometer and pin meter logs.
- Condensate routed to gravity drain or condensate pump, never allowed to discharge into the attic itself.
- Power load calculated against available circuits. Generator staged if amperage demand exceeds panel capacity.
Step 13: Homeowner Maintenance Recommendations
- Inspect attic every 6 months, especially after major wind events in East Harbour.
- Check for daylight visible through sheathing, a strong indicator of fastener or shingle failure.
- Confirm bath fans and dryer vents terminate outside, not into the attic cavity.
- Monitor attic humidity with a wireless sensor. Sustained readings above 60 percent indicate ventilation or vapor issues.
- Schedule professional roof inspection every 3 to 5 years, or after hail events exceeding 1 inch diameter.
Step 6: Containment and Negative Air
- If microbial growth exceeds 10 square feet, establish containment per S520.
- 6 mil poly barriers seal attic access from living space.
- HEPA-filtered negative air machine creates minimum 4 air changes per hour at negative 5 Pa pressure differential.
- Decontamination chamber set at access point for crew entry and exit.
- Manometer placed inside containment to verify pressure differential is maintained continuously.
Step 12: Insurance Coordination and Close-Out
- Scope of work written to Xactimate line items, matched to adjuster estimate.
- Photo log organized by room, damage type, and date for direct upload to carrier portal.
- Moisture maps, drying logs, and equipment placement diagrams included in final packet.
- Supplements filed within 5 business days if hidden damage discovered during demo.
- East Harbour Water Restoration retains all documentation for a minimum of 7 years for warranty and claim reference.
Step 4: Water Classification and Category Assessment
- Roof leak water entering through asphalt shingles is generally Category 2 (gray water) per S500.
- Water contacting insulation, dust, or rodent waste reclassifies to Category 2 or 3.
- Class of loss determined by surface area: Class 2 covers carpet and walls under 24 inches; Class 4 includes saturated low-evaporation materials like wood and insulation.
- Most attic losses fall into Class 4 due to insulation saturation.
- Standing water older than 72 hours is treated as Category 3 regardless of original source.
Understanding the category drives every downstream decision. For deeper context on classification, review the water damage category breakdown.
Step 10: Reconstruction Phase
- Roof repair coordinated with licensed roofer (shingle, underlayment, or flashing replacement).
- Replacement insulation installed to original R-value (typically R-38 to R-49 in attics).
- Drywall ceiling repair below, primed with stain-blocking sealer before paint.
- Final inspection walkthrough with you, all readings documented in close-out packet.
- Ventilation balance verified: soffit intake and ridge exhaust ratio maintained at 1:1 to prevent recurring condensation.
If the leak traveled down interior walls or saturated upper-floor ceilings, additional scope applies. Our ceiling water damage restoration walkthrough details that work in full.
Step 11: Mold Risk Window
- Microbial amplification begins at 48 to 72 hours on wet cellulosic material.
- Attic temperatures accelerate growth: 70 to 90 degrees F is optimal range.
- Visible growth requires S520 remediation, not surface cleaning.
- Air sampling recommended when growth area exceeds 10 square feet or HVAC contamination suspected.
- Spore types commonly identified in attic samples include Aspergillus, Penicillium, and Cladosporium.
Step 8: Antimicrobial Application
- EPA-registered antimicrobial applied to all affected wood surfaces.
- Application rate per product label, typically 200 to 400 square feet per gallon.
- Dwell time minimum 10 minutes before HEPA vacuuming.
- Surface treatment does not replace removal of structurally compromised material.
- Product batch number, lot, and applicator name logged on the daily report.
Step 3: Source Identification and Temporary Stabilization
- Locate primary intrusion point: nail pop, flashing gap, valley failure, or shingle uplift.
- Confirm secondary tracking paths along rafters and down truss webs.
- Install temporary tarp (6 mil minimum) on roof exterior if active leak continues.
- Place containment plastic and collection vessels under any active drip points indoors.
- Document with photographs from minimum 4 angles per damage zone.
- Tarp fastened with 1x3 furring strips and roofing nails, lapped 24 inches over ridge when feasible.
- Penetrations (vents, chimneys, skylights) inspected separately as common secondary sources.
Step 5: Material Removal Decisions
- Wet fiberglass batt insulation: remove and discard. Drying is not cost effective and R-value is lost permanently.
- Wet blown-in cellulose: remove fully. Cellulose holds water and supports rapid microbial growth.
- Wet rigid foam board: assess case by case. Closed-cell foam may be salvageable if surface only.
- Sheathing with delamination or sag exceeding 3/8 inch: replace.
- Rafters with moisture content above 28 percent and visible fungal growth: remediate per S520 protocol.
- Removed material bagged in 6 mil contractor bags, sealed at the access point, and weighed for disposal documentation.
- Decking nails inspected for corrosion. Heavy rust indicates long-term saturation and warrants expanded inspection area.